The list of games as of 3/2/2023 is as follows:
Beat Saber
Half-Life Alyx
Boneworks
Bonelab
VRChat
TWD: Saints & Sinners
The Lab
Tilt Brush
Gravity Sketch
Moondust
Aperture Hand Lab
Vertigo Remastered
Superhot
We aim to add more to this list overtime, please check back as we will update the article as we integrate them directly into the driver.
By default any game can support eteeController SteamVR by creating your own bindings and sharing them with the Steam Community, the same as all other SteamVR controllers on the market.
eteeController SteamVR is very unique and powerful so there are extra bindings that can be used compared to other controllers.
These extra binding include our powerful Gesture system, which is listed below:
Our eteeTracker has a ‘Tap Zone' and the eteeController a ‘Slider’, which can be one or two virtual buttons. You can get creative with how you map your bindings to your own requirement as everyone plays differently.
In order to access SteamVR Bindings for a game you wish to create a set for, you must first start the game with eteeControllers SteamVR connected and then navigate to the following area.
Method 1 - Directly on your PC
On the SeamVR Menu (right click the SteamVR floating window) > Drop down Menu (sandwich icon) > Controller > Manage Controller Bindings.
Method 2 - With your VR headset on
You can modify them ‘on the fly’ in VR but we recommend that, if setting them up for the first time, create them directly on your PC first then test in VR and if needed Tweak with the headset on.
Open the SteamVR > (etee power button) > Settings (cog wheel) > controllers > Manage controller bindings > Custom (Make sure that etee is showing as the active controller) > edit this binding.
If you can't see the eteeControllers as an option, check that you have the eteeDongle plugged in and that all trackers and controllers are powered on and tracking.
Steam has 2 binding systems, some games (especially the old ones) use the old one and some use the new system.
- Old: legacy binding systems. Actions are binded to general actions (application menu button, trackpad touch, etc.)
- New: binding system: Bindings are game specific. Actions are binded to in-game related actions (fire, teleport, menu, etc.)
etee has the ability to use both of these systems and you will be presented with either one depending upon the game you are modifying the bindings for.
Make sure that that ‘etee controller’ is selected, not ‘etee tracker’. etee differs from other controllers as the tracker and the controller can be used independently and also, together, so Steam picks up 2 individual devices. Select the etee controller to create the bindings.
If you see a message saying that the ‘binding does not exist, select ‘new binding’ and you will see one of the screens displayed below:
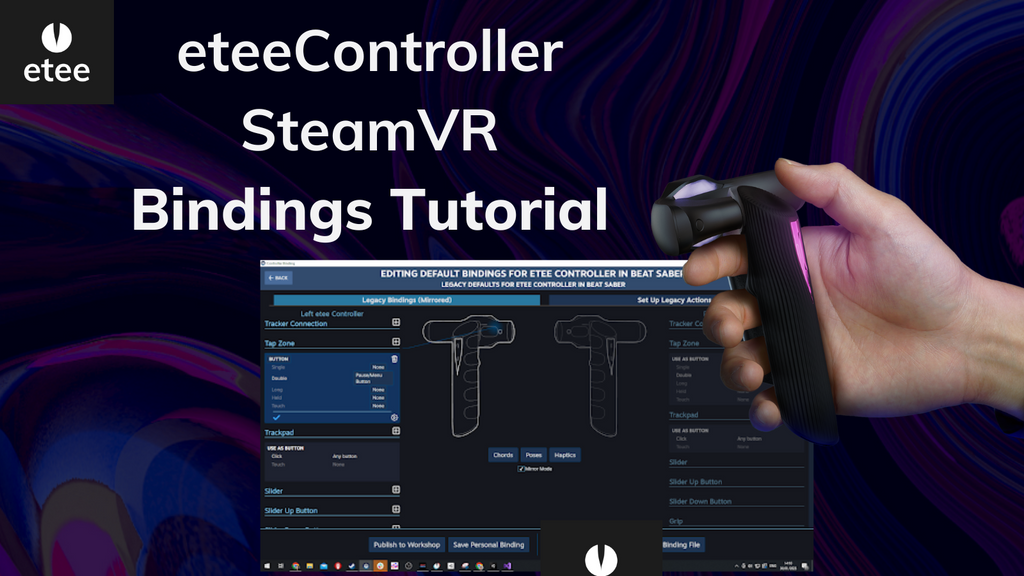
Legacy Bindings:
You will be presented with the following screen:
New Binding system:
You will be presented with the following screen:
Now it’s time to start editing the binding.
Editing a Binding
Options that you need to be aware of at this stage. ‘Mirror Mode’, if selected, means that if you create a binding on one of the controllers (Left etee or Right etee) then it will also be created automatically for the other controller. It mirrors the setting. This is great for simple games as a time saver but most modern games will require you to set individual bindings on each controller. It totally depends upon the complexity of the game inputs.
Skeleton
This option is the Steam Skeletal system that enables you to animate hands and fingers. We need to tell Steam that etee has skeletal inputs. Edit Skeleton > assign left hand to left and right hand to right. This will only be available on games & experiences that use skeletal input, not all games support this feature.

Action Poses
Now we need to assign ‘Action Poses’ to etee.
All games have a set of action ‘Poses’. These are definitions of what the controller is ‘acting’ as, at specific parts of the game. For example if the game has a ‘pointer’ in the starting menu, in order to point and click on the game settings to adjust comfort options, then you will see an option to select ‘pointer’. Most games have a ‘Raw’ setting and most of the time you will just use this with etee.
Click ‘Edit Action Poses’ > and for L/R hand ‘Raw’ > Select ‘Raw’. If you see a pointer option in others poses such as ‘L/R hand Tip’ then select ‘pointer’, as this means the game requires a virtual pointer to select in game options when in menus > Click close. There may be other options depending upon the game and it is mainly common sense on which pose to assign.
Chords
This is a powerful configuration tool that enables you to combine one or more inputs to trigger an in game action. For example, with etee, combining a thumb on the trackpad with ‘Index finger curl/pulll’ can be set to ‘trigger’. This means that it can help you to prevent accidental misfires. If you accidently curl your index finger with a virtual gun in hand. Using this chord, etee wouldn’t trigger fire unless you have your thumb on the trackpad. Therefore ’Trackpad touch’ + ‘index finger curl’. This is very useful for etee as the options available to you are many and you want to fine tune the binding to prevent ‘misfires’. This is more for users that fully understand the binding system and you won’t use this until you have modified a few bindings yourself and understand the system more. It takes time and patience.

Editing each required binding
Now it is a case of making sure that all required game actions are mapped. In the new controller bindings UI it shows you that there are unmapped bindings for a specific category like locomotion by highlighting the tab in orange at the top of the bindings screen (Please note you will not be able to save the binding in the new steamVR bindings UI unless all game actions are bound).
Let’s start with something simple.
Mapping the Tracker proximity sensor or ‘Tap Zone’
One of etee’s inputs is ‘Tracker Proximity Sensor’ or also known as etee’s ‘Tap Zone’. This is the area that you can tap with your thumb on the etee tracker to trigger an in-game action. It can essentially behave as a button!
Click on the [+] symbol next to the ‘Tracker Proximity Sensor’ in the bindings UI and Steam will present a number of options for tapping this sensor, select ‘Use' as ‘Button’.

You will now need to tell Steam if a simple ‘touch’ of the proximity sensor (tap zone) will trigger an action or perhaps a ‘click’ (slightly longer tap of the zone) will trigger an action.
Select the action you would like.
With etee we recommend either ‘Long’ or ‘Double’ (double tap with thumb on sensor) in order to prevent misfiring.


Tracker Proximity Sensor > Use as Button > Double
Steam will then display the available options for tapping the sensor. Let’s set this to ‘open in game menu’.
Now select the ‘Tick’ icon to confirm the binding and click ‘Save Personal Binding at the bottom of the screen.

You’ve now created your first binding!
Testing the Binding
Now let’s confirm that the binding works.
Click the etee power button > Return to the Game > double tap the ‘Tap zone’ (Proximity Sensor) on etee and it should now display the Game Menu, matching the binding that you just set.
Each Binding will have a number of different actions you can set, for example not just ‘use as button’ but also ‘analogue action’ or ‘act as trigger’. You will need to play around with these settings and get used to them.
It takes practice initially so we recommend using a game with a small number of inputs first such as ‘Beat Saber’. Practice changing the Binding for ‘Pause game’ in Beat Saber by perhaps mapping it to a gesture such as ‘point’ or the proximity pad like we did above.
Once you have this working, you are on the way to becoming a Binding expert!
Congratulations you have just unlocked the power of eteeController SteamVR.
In order to assist you further, we recommend reading the following articles:
Steam: How to create SteamVR Input Bindings (Example Game ‘Rolling Line’)
Further information may also be found in our eteeSupport Knowledge Base
We will add articles to assist with any problems or issues that are reported to us with the Binding process.
Leave a comment: