
eteeController for SteamVR
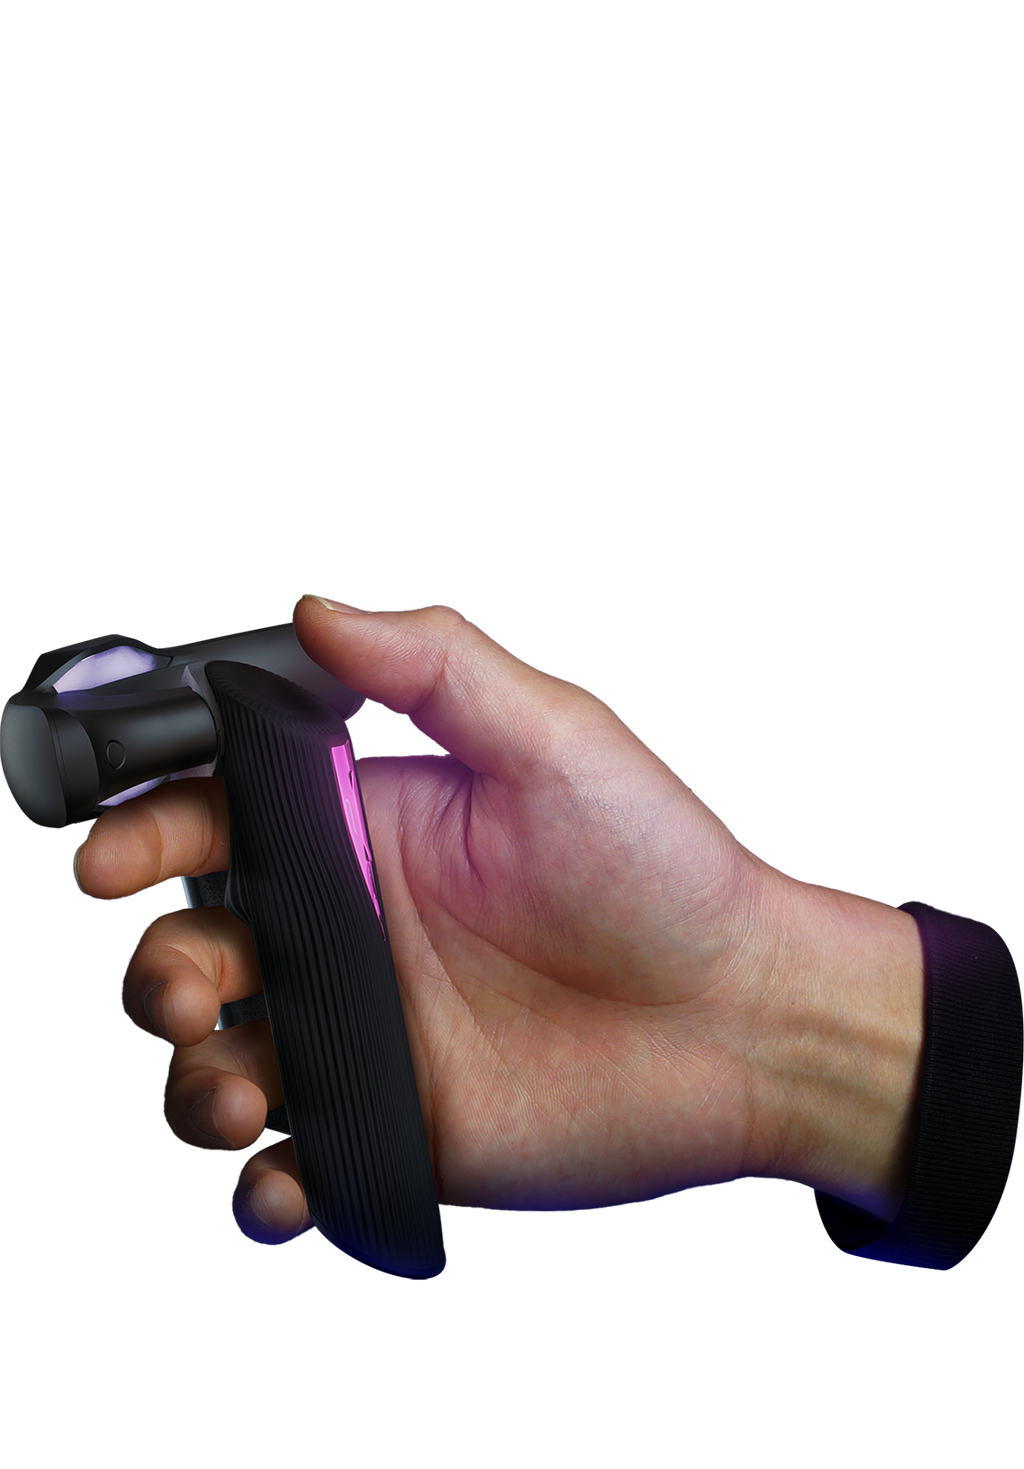
Full Finger Tracking & Control
Pinch, Point, Swipe and more with the eteeControllers for SteamVR. Our controllers provide immersive VR experience with full finger sensing and 6 DoF PLUS a 360 field of view tracker. From dance battles to zombie attacks, etee brings new levels of control to VR.
SHIPPING NOW!
SHIPPING NOW!
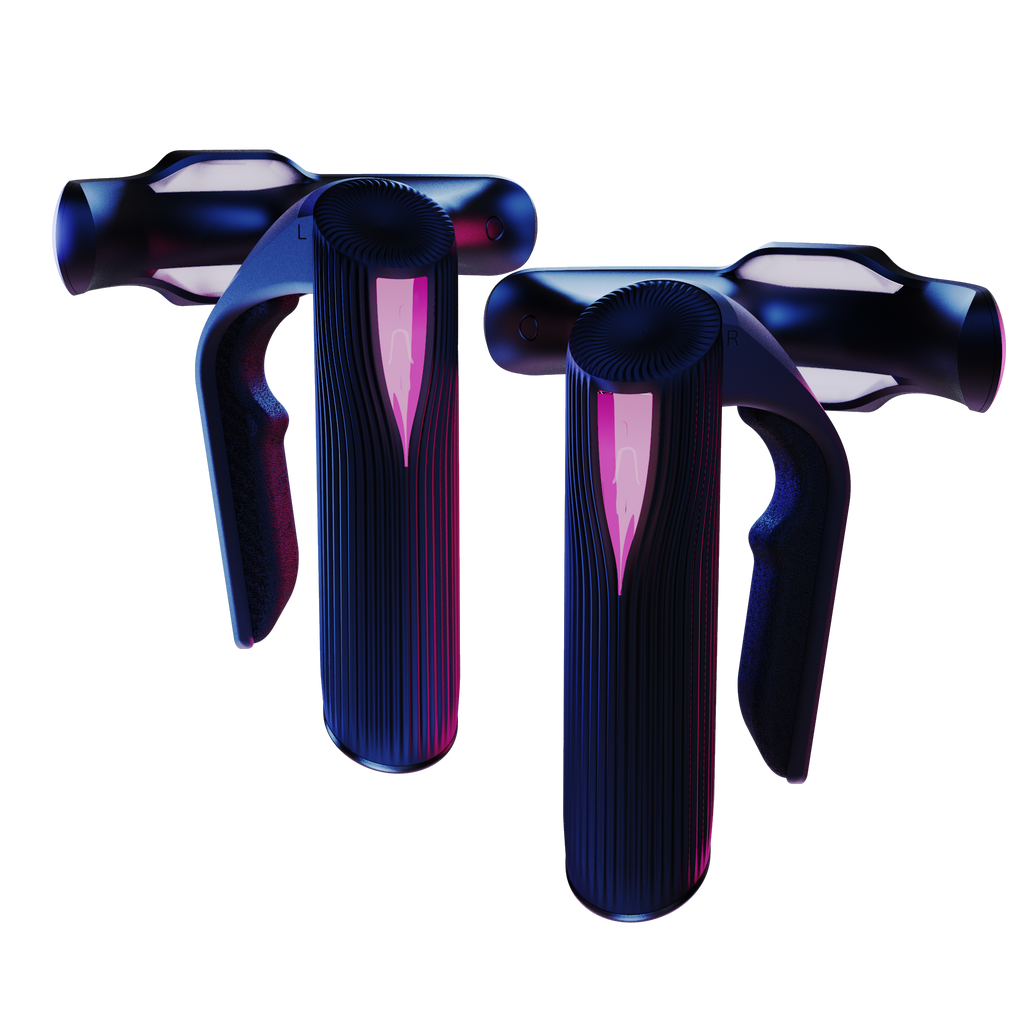
Full-finger Sensing Control
Control your VR, gaming and coding projects with precise, intuitive commands without the need for gloves, cameras or other excess equipment. Powered by TG0 patented touch technology the eteeController seamlessly adapts to all your needs.

Custom Bindings
Make it yours. All inputs can be customized.

Touch-Sensing
100 digits of proximity, touch and pressure detection.

SteamVR Supported
Compatible with all major headsets.
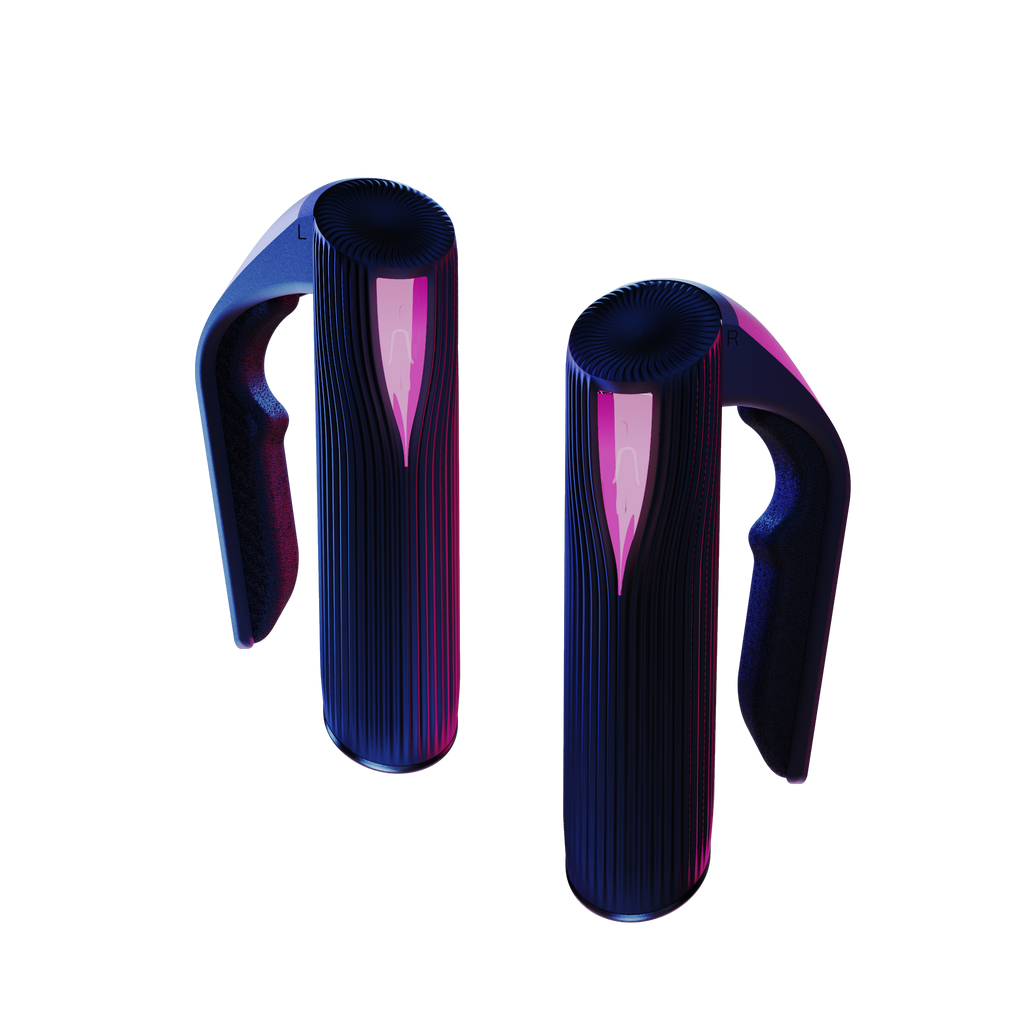
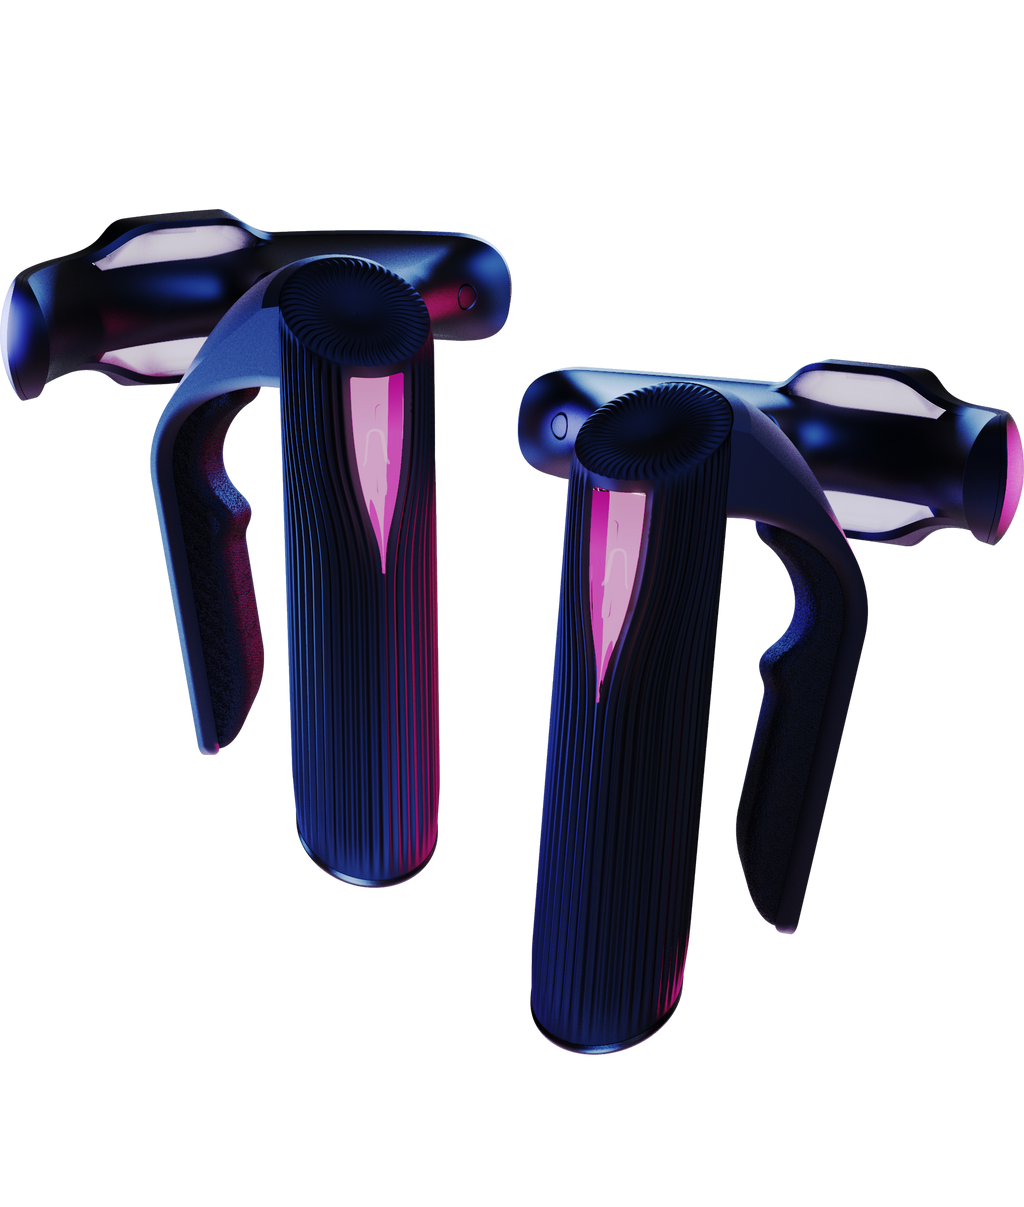
eteeController
eteeController offers a new way to control your gaming and coding based projects. The intuitive, button-free, 3DoF, full finger tracking controller uses TG0 patented technology and first-in-class UX design.
Compatible with Unity(C#) / Python SDKs.
Compatible with Unity(C#) / Python SDKs.
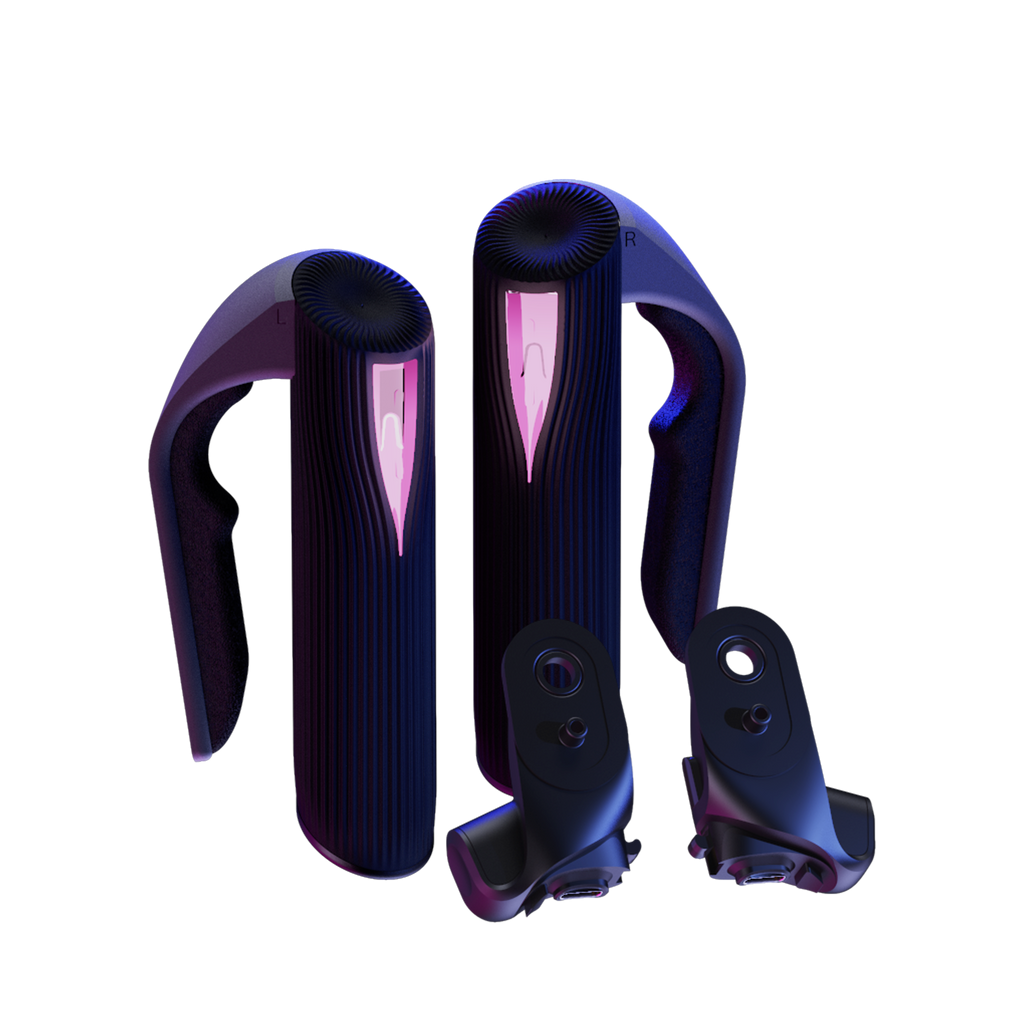
eteeController + eteeAdapter
eteeController AdaptVR Kit
The eteeAdapter allows you to seamlessly attach it to the eteeController, adding the power of eteeTechnology to the third party tracker and turning it into a finger sensing marvel. The eteeAdapter goes even further, introducing the Tap Zone feature for enhanced interaction.
Compatible with VIVE Tracker (1.0, 2.0, 3.0) / Tundra Tracker.
Compatible with VIVE Tracker (1.0, 2.0, 3.0) / Tundra Tracker.
eteeController + eteeTracker SteamVR*2
eteeController SteamVR Kit
Experience full VR immersion and precise control with eteeController SteamVR Kit. Featuring 6DoF, full-finger tracking, and ergonomic, lighweight design for extended gameplay.
eteeTracker SteamVR
Are you struggling with full-body tracking? Are you in need of tracking an object with bigger field of view than Vive trackers? eteeTracker SteamVR have 360° field of view for your unique needs.
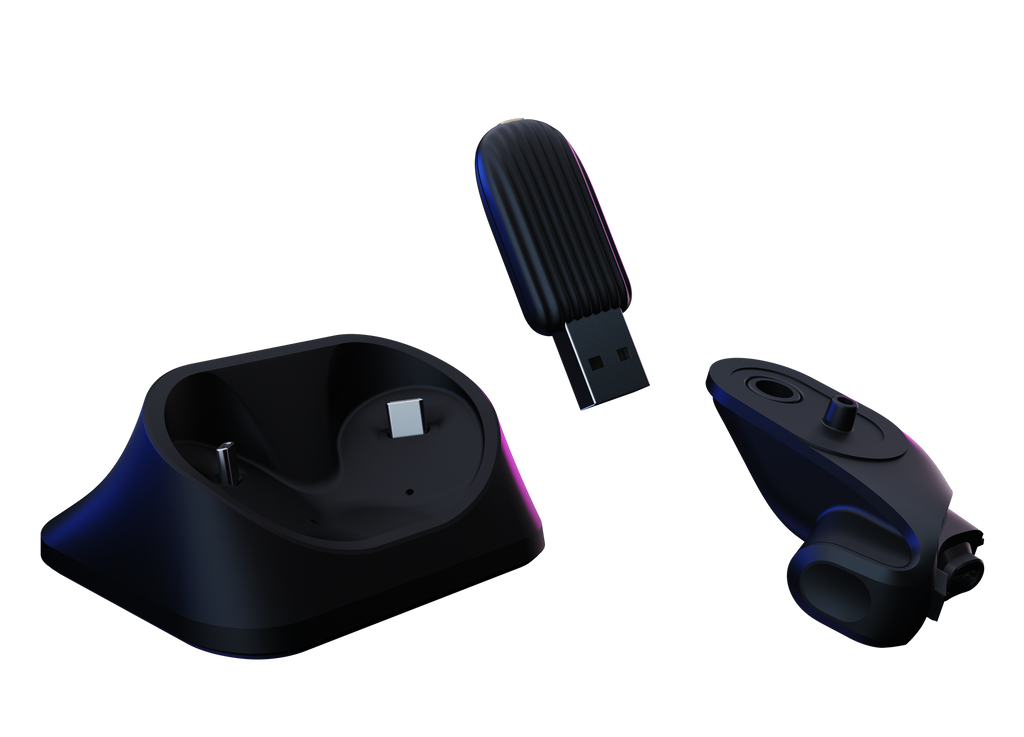
Accessories
The eteeEcosystem of devices and accessories is designed as a modular and easy to use tool for both professional and everyday use.
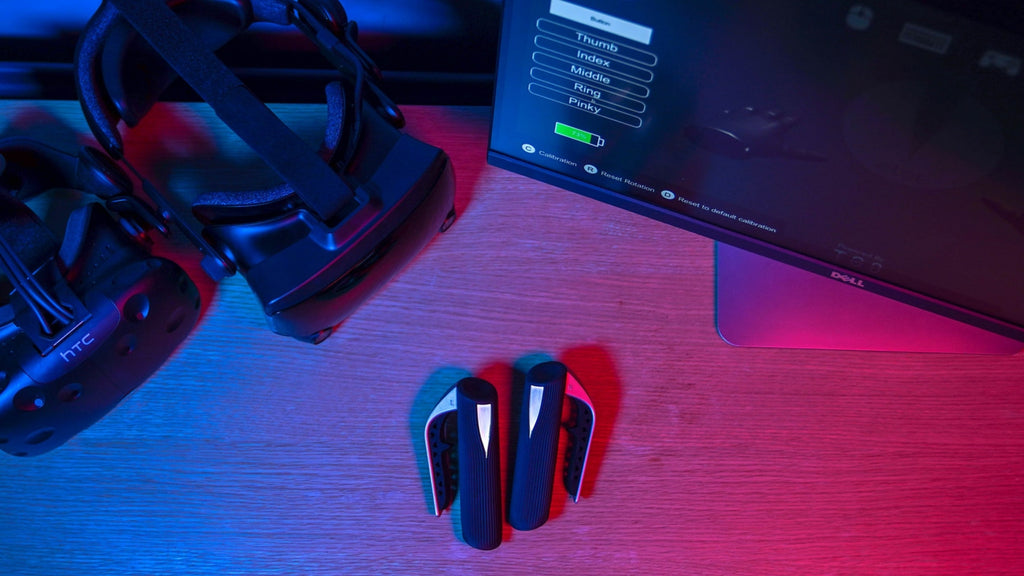

I have the Valve Index which does a similar thing but it’s quite a chunky controller. This is so light, it’s so pick up and play.

You're more free to use and manipulate the controller how you want, rather than having to conform to a gun-like sort of grip. You just don't even know they're there.

The lightweight controllers recognised each of my fingers and my grip - even tight squeezing.

VR content that doesn't demand the binary precision of hardcore game experiences - like training, art, therapy, social, remote control and more - could definately leverage eteeController as a more intuitive means of input.

The finger sensing was working great already [...] the eteeSteamVR controller are also lightweight, which is a nice change.

eteeSteamVR Controller brings people into VR in the most unobtrusive way

With my avatar I can move fingers and make gestures!

With the usual devices (buttons, faders...) you have to deal with less parameters, but having 8 pressure sensors + the thumb track-pad is great for having real expressiveness. (in music creation)

How is this possible? This is going to be great for some augmented VR worlds where you want to interact with other people with your hands

Any HMD producing company would be grateful to have eteeSteamVR Controller as compatible.


Latest from Us
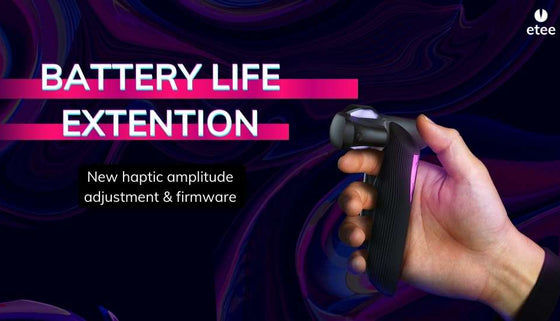
Battery Life Extension Update
Extend your battery life with this new beta release firmware update.
Read more...
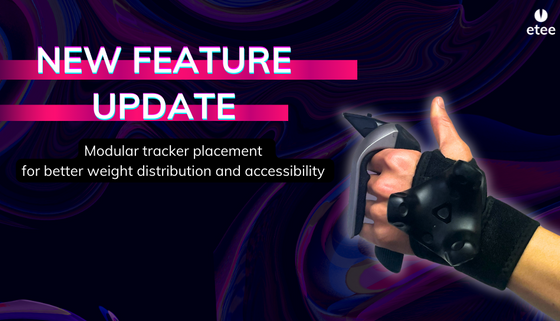
New possibilities with modular tracker placement!
Updated Tracker Placement There’s a new way to play with etee, users can now attach trackers to the top of the hand for better accessibility and weight distribution (pictured below) when using eteeController and eteeAdapter....
Read more...